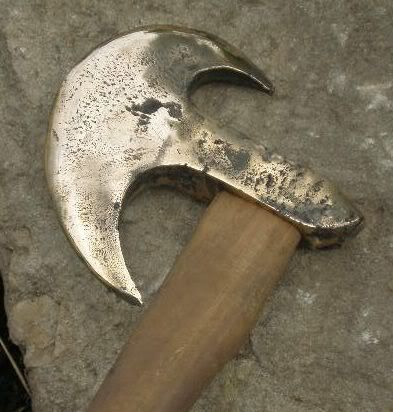
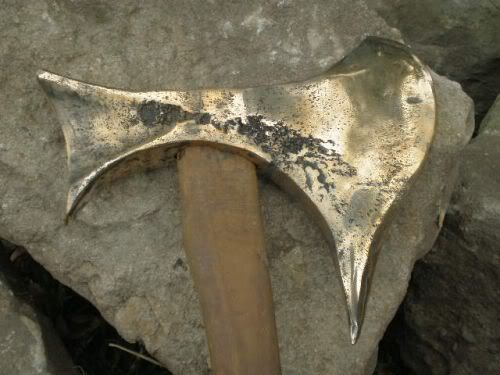
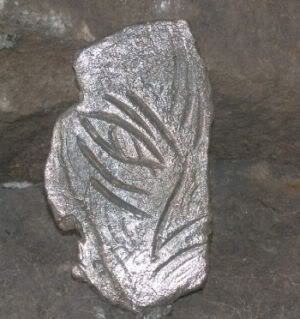
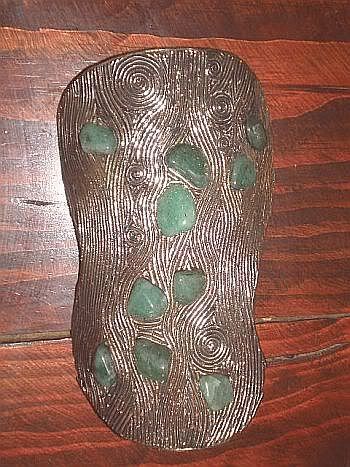
You asketh, you geteth
Since I work at the TAFE foundry, I use their furnaces. I plan one day to make one of my own, but at present having them pay for the gas suits me just fine.
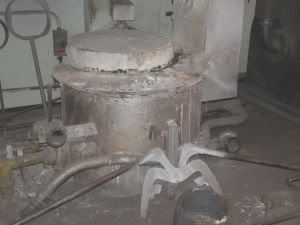
Anyway, this is our little furnace, used for melting copper alloys (brass and bronze), as well as being a general workhorse (pewter, lead, and whatever else they bring in with a melting point copper or less)
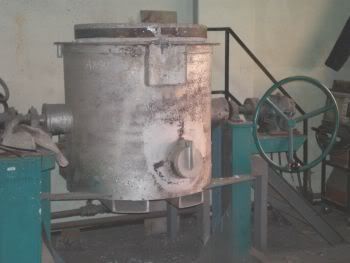
And our big furnace, used for aluminium.
Since I was there with a camera, I decided to make a day of it.
Here's two other views of the foundry,
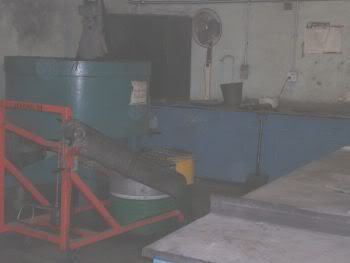
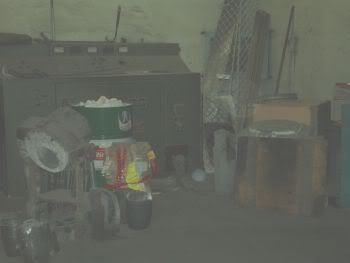
In the first, you can see the sand mill, for mixing green sand, and in the second you can see our old induction furnace. Anyone knowledgeable in the field of induction furnaces will notice that this one was built sometime in the early 15th century (a good trick, as they hadn't discovered electricity yet), and is of course powered by rats running on treadmills. Unfortunately a few years ago our rats died (give them a break, over 500 years is a long lifespan for a rat) and new rats will apparently cost tens of thousands of dollars (presumably for a very large block of cheese). So I'm stuck with this bloody thing taking up space in my bloody foundry.
Anyway
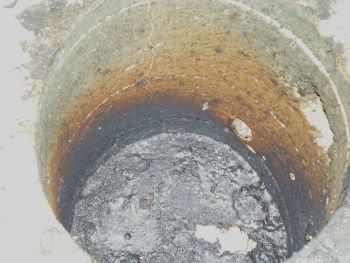
Inside the small furnace - just a refractory cement cylinder, in the upper right quadrant you can see the exhaust hole to the far right (higher in the furnace), and a gas hole lower down.
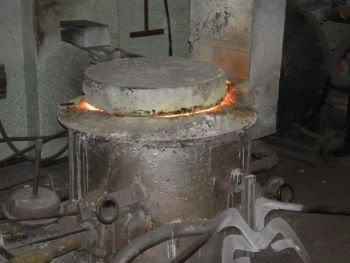
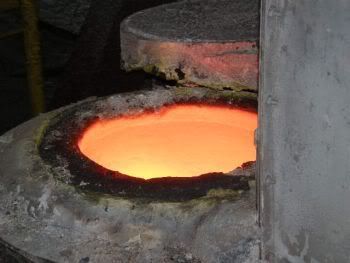
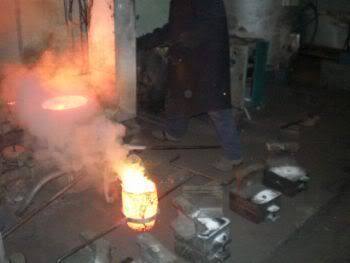
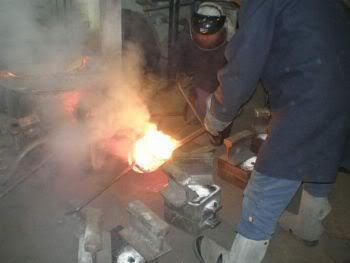
Removing a pot of brass from the furnace, and cleaning off the dross.
 Making a Casting (Note - This isn't how the pieces above were made. Most of those are lost wax castings, while this is a green sand casting)
First, get your stuff together
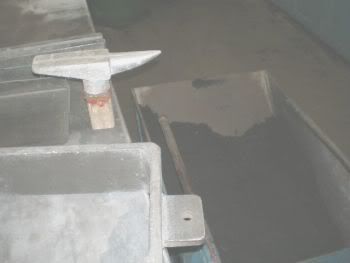
You can see the bottom half of a box, the pattern (that anvil-looking thing), and a wheelbarrow full of green-sand (the black stuff)
Green-sand is a mix of sand, clay, graphite, and water. I'll tell you why it's called green when its self-evidently black, later.
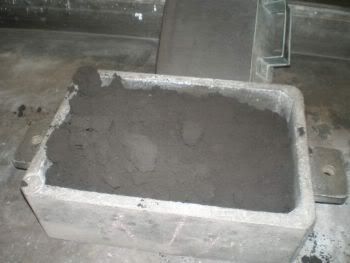
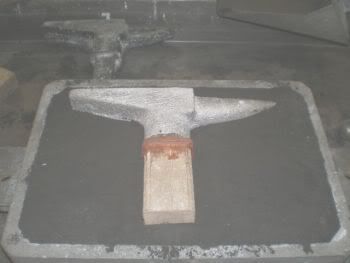
As there's no 'flat back' to the pattern, a box half has to be lightly filled with sand, and then the pattern pressed into it to the half-way mark, in order to hold the pattern correctly to start making the mould
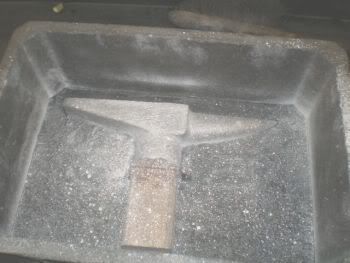
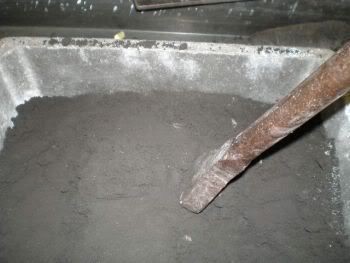
The other box half is then placed over the top, and sand firmly packed in around the pattern. The white stuff you can see in the left picture is Parting power (typically chalk). Green-sand sticks together because it's damp. That's fine, except you don't want the two box halves to stick together, or you'll rip the mould apart when you try to remove your pattern (this is generally considered a bad thing in foundry circles). The parting powder sucks up the moisture on the surface and thereby creates surface dryness. And why is it called green-sand? Because it's damp (think green wood).
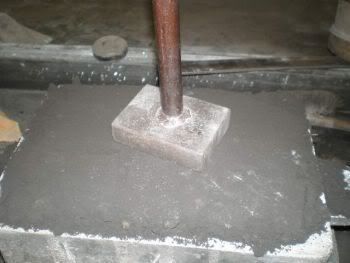
Final packing down for the half.
You then turn the whole thing over, remove the bottom box (which only has loose sand), empty out the loose sand, replace the box, and repack the sand again, this time properly. No pictures. It's exactly the same as the last bit, including the parting powder.
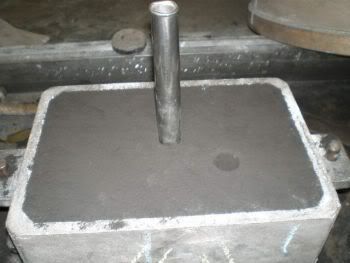
You then cut in your pour hole, and a riser hole (you see there a thin-sided metal pipe. It can be pushed in and will cut out a section of sand)
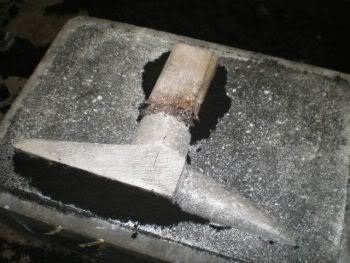

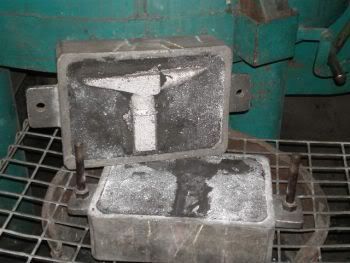
Split the boxes and remove the pattern. Ooops, damage! Those black areas around the pattern is where sand has broken loose and will have to be repaired. (Quick repair job ensued)
Finally, the finished mould, with pourer-cup (powdered for contrast against the black, for ease of seeing it. Sometimes it can be hard to see when you have a brightly glowing pot of metal.)
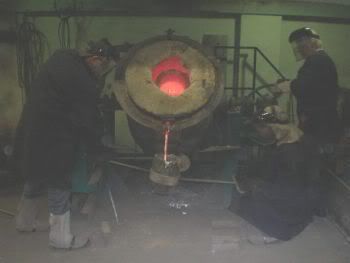
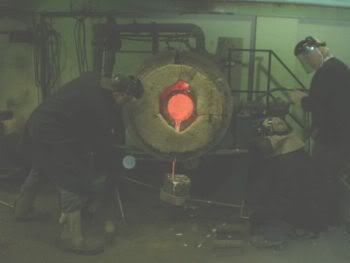
The aluminium furnace is emptied (as you can see, one of us is still capable of bending his knees); and the mould is poured (unfortunately, this picture didn't come out).
The finished casting.
